
So now comes the fun stuff. From the start it's probably best to do it outside in a well ventilated area, as some of the fumes can be quite harsh, and remember safety always comes first.
Just read and follow the instructions of your resin and it will tell you the ratio of hardener to resin, when you start to mix It. Also handy to have is a set of weighing scales available, as you can get precise and accurate measurements and you don't want any waste, after all resin itself isn't cheap.
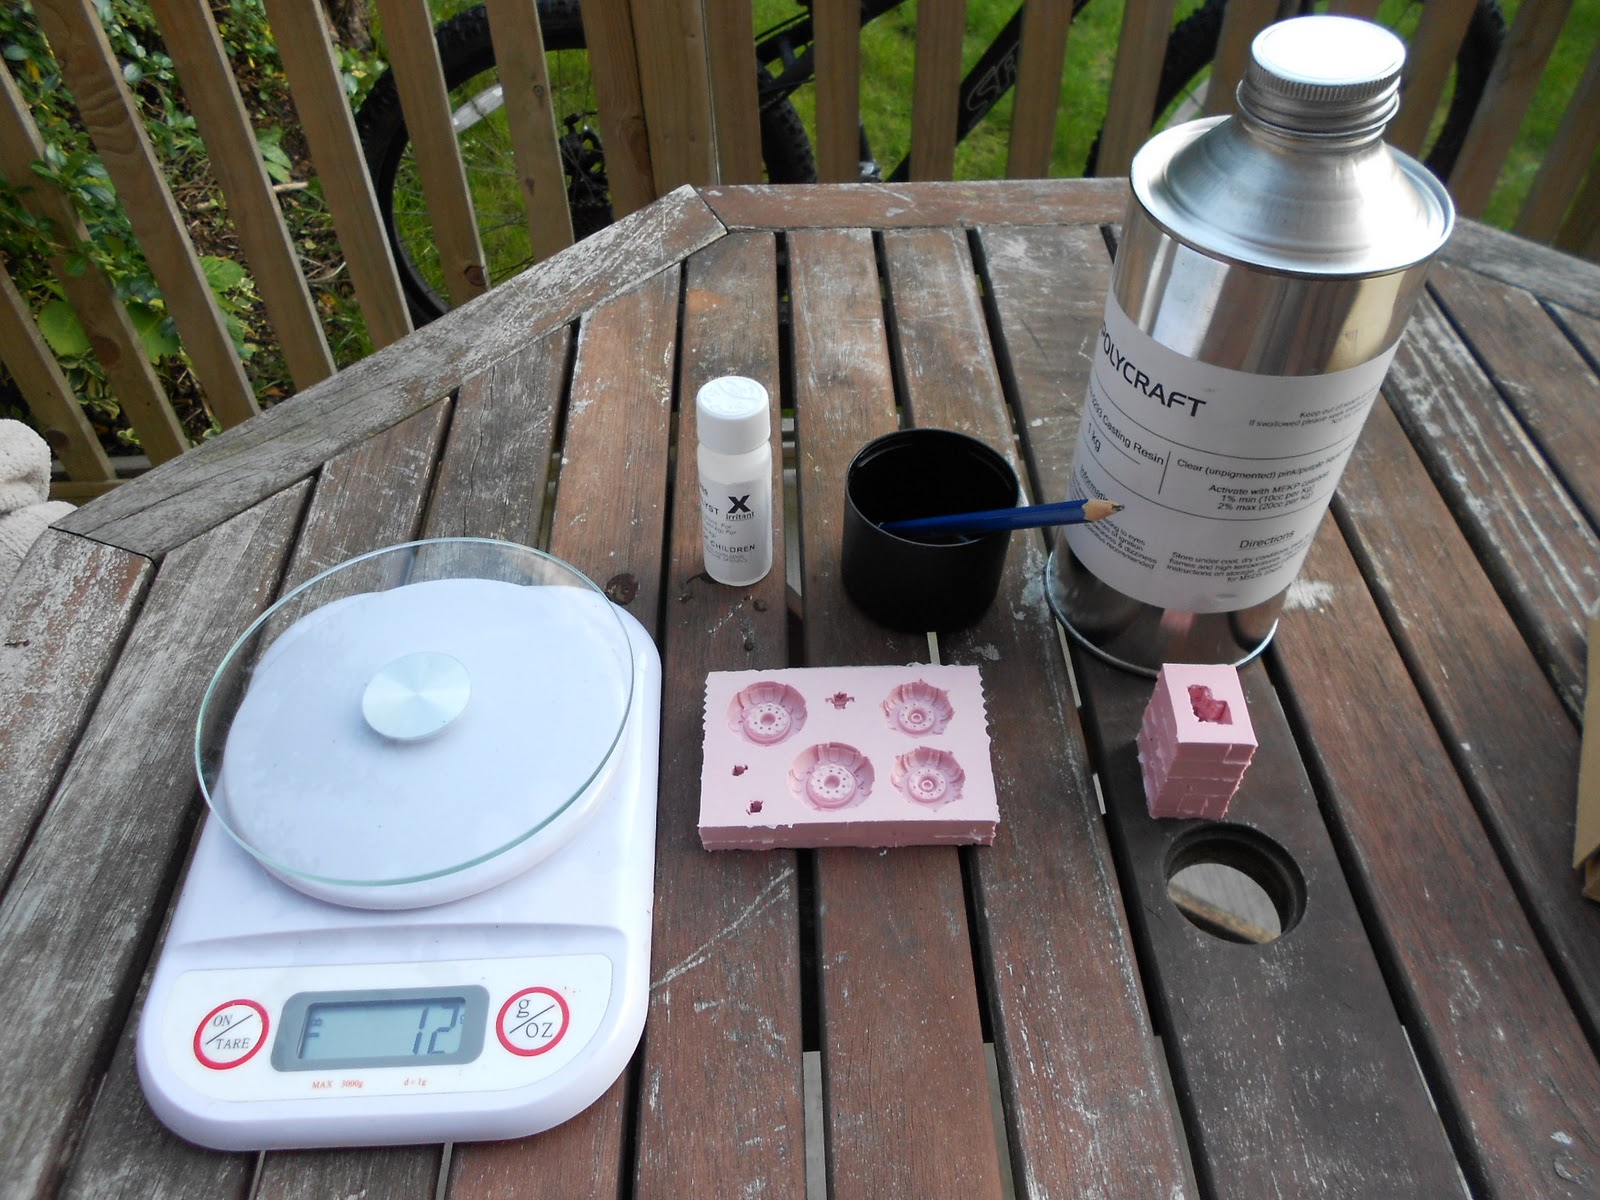
So once you have mixed your resin and hardener together, very gently for a few seconds, it's important to get this right as too little or too much of either will make the batch useless for example it hardens too soon or it will not harden at all, all of which you do not want.

It's important that you try and keep air bubbles to a minimum.

So gently pour the resin into the mould starting at one side take your time and do it slowly. With a toothpick gently make sure the resin gets into all the nooks and crannies, and be on the lookout for air bubbles try and bring them to the surface, or make sure that they are in the middle of the resin itself.

Using the same toothpick once you have done the above you can easily scrape off any excess that you come across,

Take a good look at the above picture and you can see the air bubbles have been brought to the surface as there's nothing worse than the moulding and finding that there has been a big air bubble in the resin.

Also don't be afraid to gently tap or squeeze your mould to make sure that the resin gets into all the areas

So there we have it, all you need is to leave them for a few hours and let them set this, and if everything has went to plan you shall have some new bits and pieces to play with.
No comments:
Post a Comment